
With the cold we've been having it's not debatable that Miss P needs a coat even just for going from the car into places. But constantly getting her in and out of her coat (as it's absolutely not safe to wear a coat in the car seat) is such a pain. It's the sleeves. Solution- a hooded poncho. It can be pulled up so that it's not between her and the straps when strapping her in and then pulled down to keep her warm on the trip which means no more need for a blanket that gets kicked off.
I wanted it to be doubled layered for extra warmth, reversible just because, and to have a hood since she won't leave hats on. I'm sure if I spent long enough on Pinterest I could have found something that matched that description, but I finally decided it would be easier to make my own since a poncho is a simple enough garment.
This tutorial as written is somewhat too big on my (large) 14 month old but I wanted it to be something that would work for next winter as well.
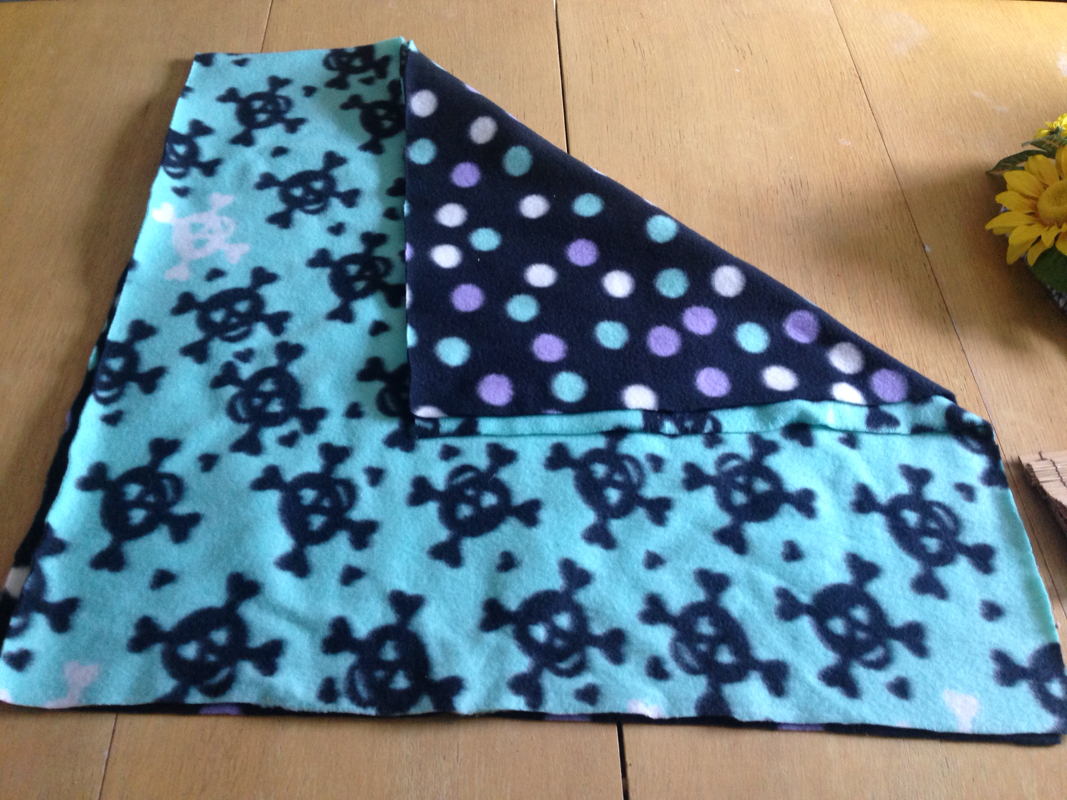
I started with 3/4 yard of two coordinating pieces of microfleece. To size the pattern up or down, just change the starting yardage.
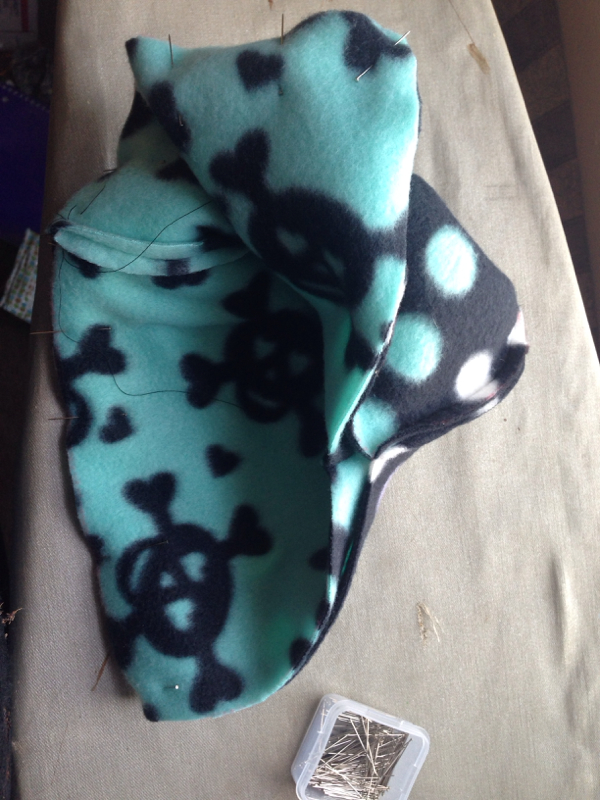
The first thing I did was fold each one to make a square and cut. You should have two squares of your fleece (these will be the poncho) and two rectangles. (These will be used for the hood.)
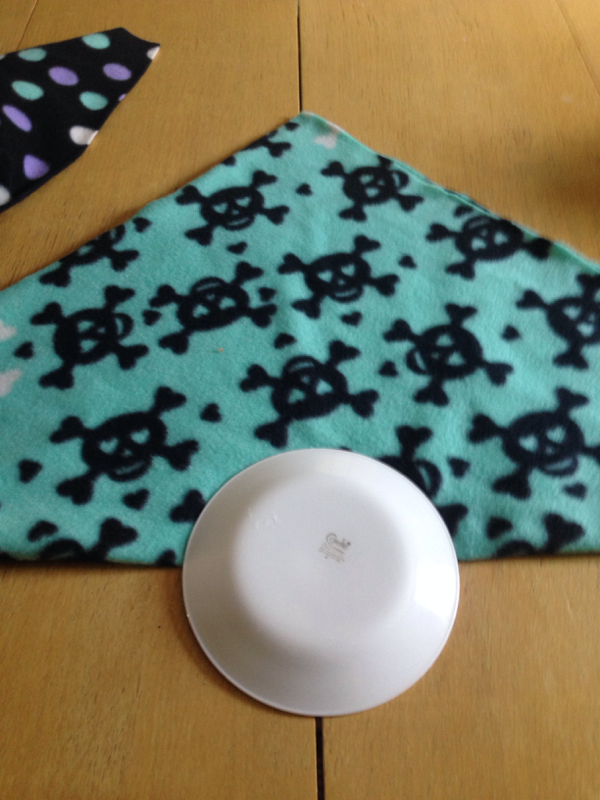
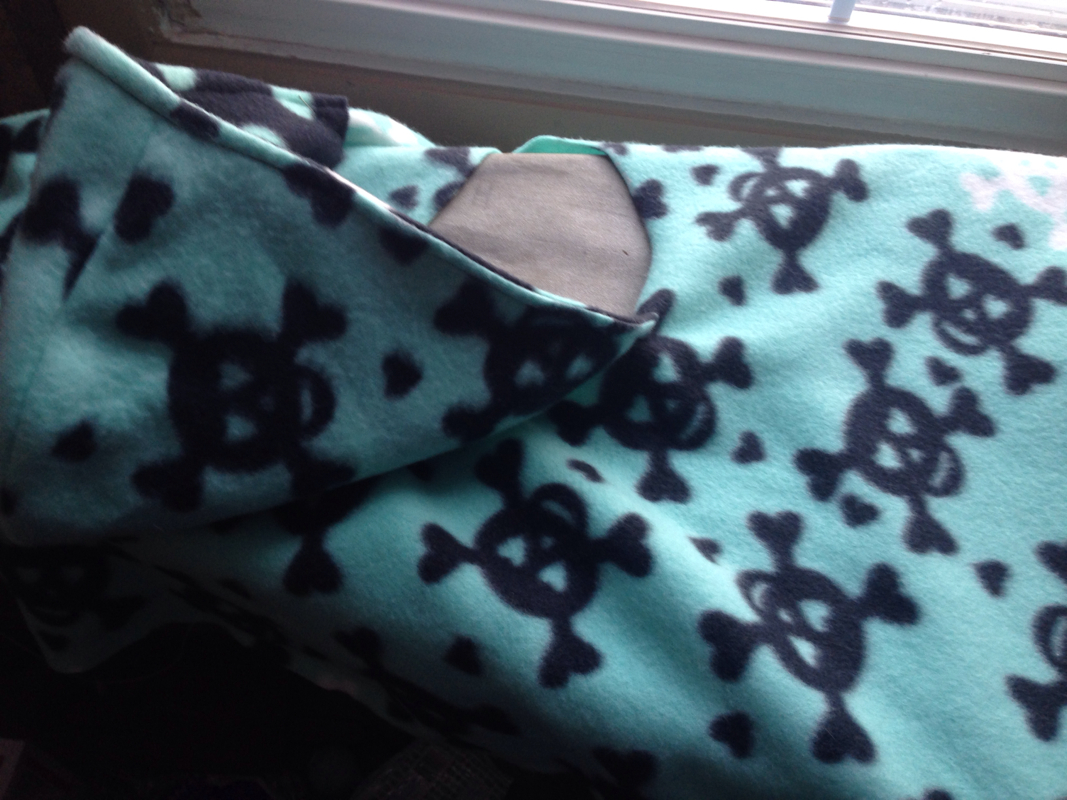
You're then going to want to cut out the head hole. You can always make it larger, so start small here. (I didn't follow my own advice here and so have to pin the neckline shut). I used a salad plate to make it a nice shape on the first piece I cut and then used that as the template for the second piece.
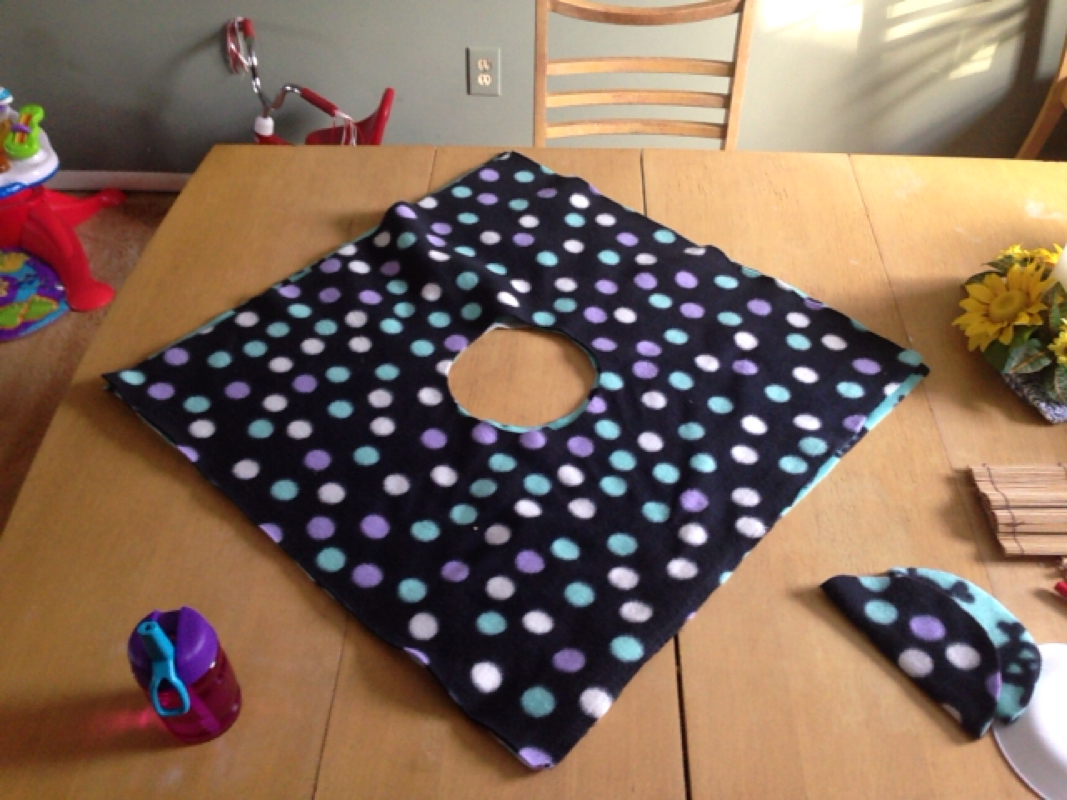
You now have two squares with holes in the center. You could be done here if you want a (two) single layer ponchos- microfleece is one of those fabrics where you can get away with not having a finished edge.
| 
|
You need to cut out and assemble the hood per the patterns instructions, making one of each of your fabrics.
Once you have your two hoods place them one inside the other, RIGHT SIDES TOGETHER, and sew around the face open.
Flip it rightside out using the opening at the bottom and then add top stitching around the seam you just sewed to get it to lay correctly.
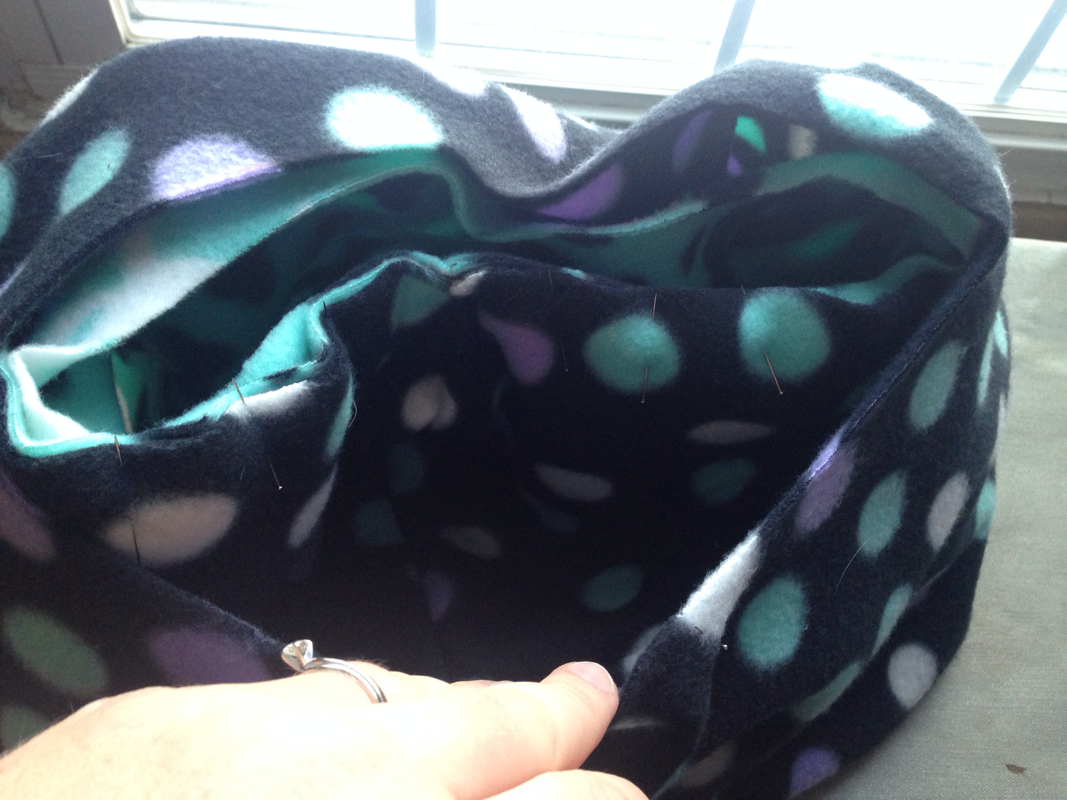
Attaching the hood to the poncho can be a bit tricky. Take one poncho piece and find the center back (straight up from one of the points) and align this with the center back of the hood. Pin the hood in place with the right sides together. (Fabric A on the hood against fabric A on the poncho).
Drop the other poncho piece over this, sandwiching the good between the layers. Pin in place, lining up the center backs. Sew together all the way around.
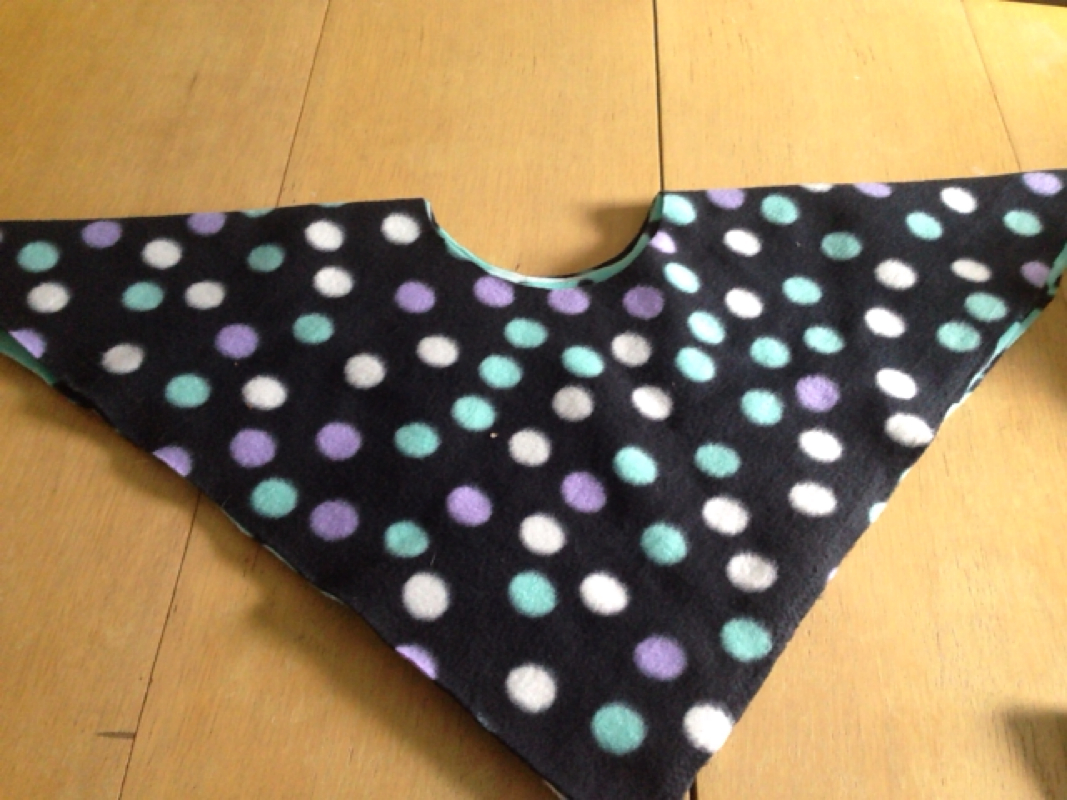
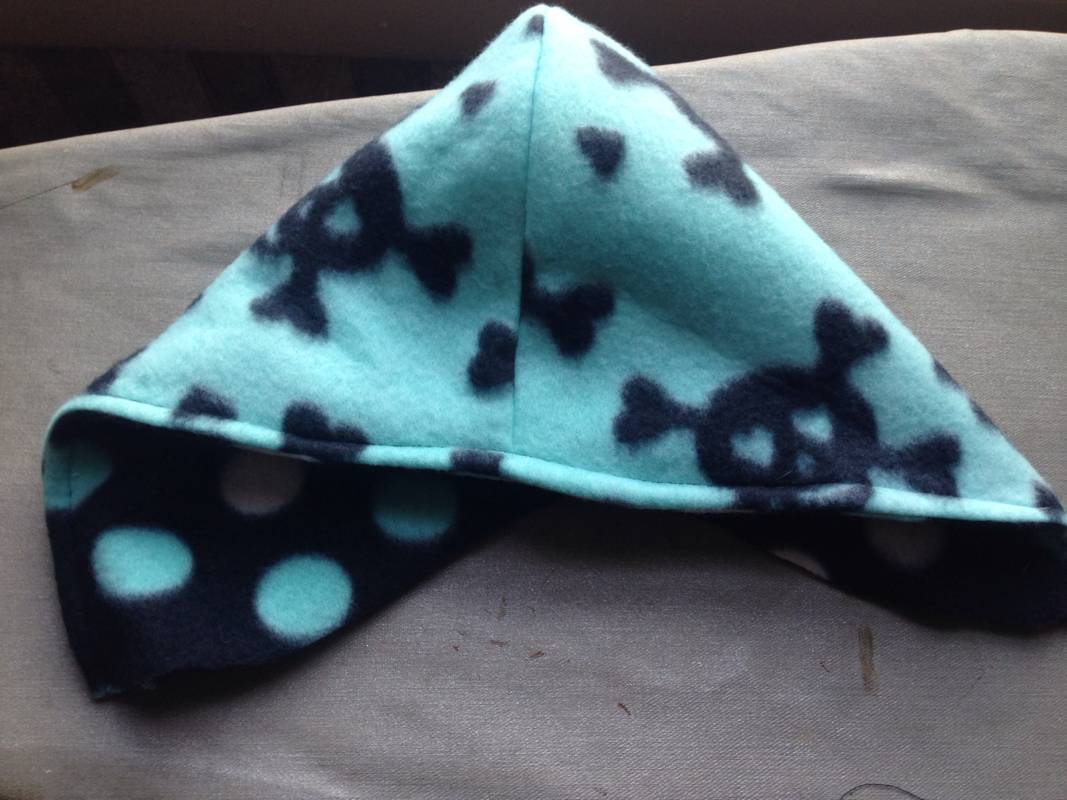
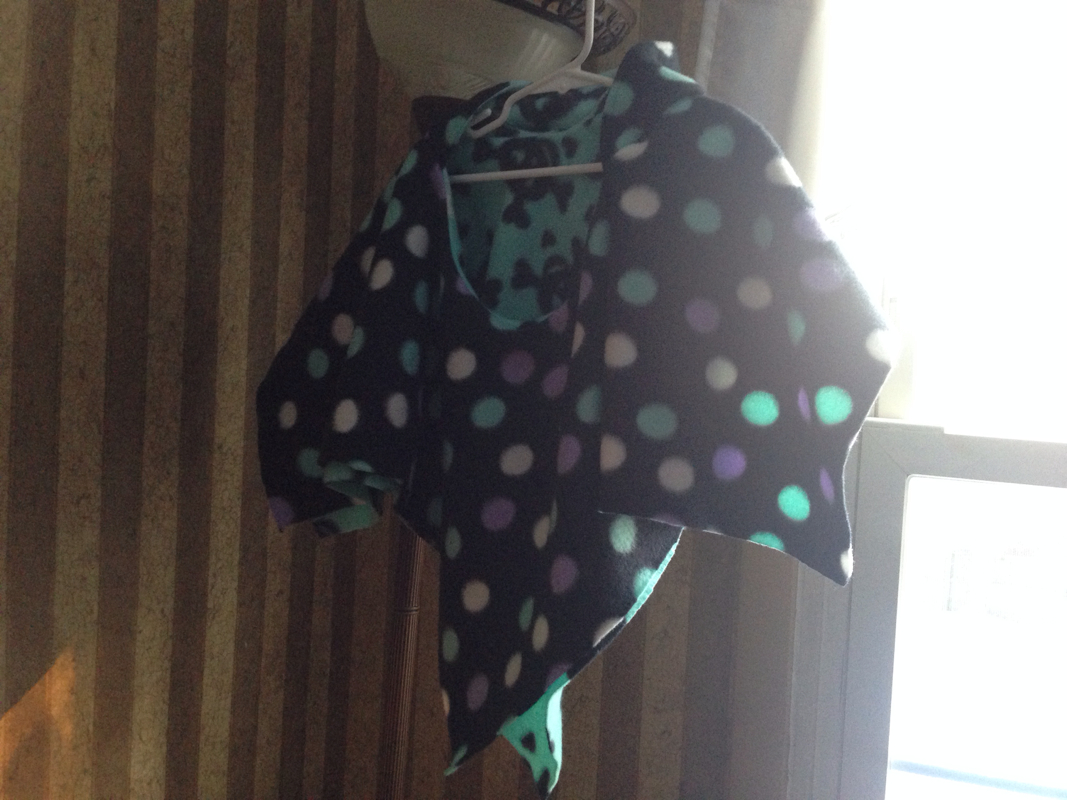
Now turn your work right side out and you should have something that looks like this. Once you've made sure that it looks ok, top stitch around the front of the neckline; I made mine come out if the stitching on the good so that it looked like one seam.
 RSS Feed